How to Export Thunderbird Address Book Contacts to Outlook
Time to migrate to Outlook? With Thunderbird to Outlook contacts conversion utility you can easily import multiple contacts from your address book in Thunderbird to any version of Outlook. Quickly, easily, completely error-free. Below is a simple step-by-step guide that explains importing of Thunderbird to Outlook.
Why export contacts from Thunderbird?
While Thunderbird is definitely one of the most powerful and convenient email clients in the world, Outlook is still far superior to it in everything regarding managing contacts. That is why many users, even those that really love using Thunderbird, gradually migrate to Outlook and export their contacts from Thunderbird to Outlook too. Another reason for transferring contacts to Outlook is older versions of Thunderbird that simply cannot offer all of the capabilities of Microsoft Office Outlook.
Fear not, dear user, as exporting your contacts from Mozilla Thunderbird to MS Outlook can be really effortless. Read along to learn how!
How to export Thunderbird Contacts to Outlook
There are two ways of exporting contacts from Mozilla Thunderbird to Microsoft Outlook – manual and automatic. Manual exporting requires saving all contacts from Thunderbird to a CSV file, and then adding this CSV file to Outlook. While this method is an absolutely legitimate way to export contacts from Thunderbird to Outlook, it is still not the best one. Reason? It is manual. People report various problem while using the CSV importing to Outlook that require manual editing of the CSV file.
If you are not super tech savvy, or simply don’t want to waste time manually doing things that are perfectly automated, there is another way for you. In this method, you export contacts from Thunderbird as vCard files (VCF), and then instantly import them to Outlook as a single PST file composed by this utility.
Method 1: Export Thunderbird to Outlook automatically
Exporting contacts from Thunderbird to Outlook automatically can be easily done if you use the vCard format. The vCard format itself is a Virtual Contact File (VCF) that contains all information of a particular contact. However, importing multiple VCF files to Outlook is too much of a hassle, because you would have to load each vCard file manually, one by one.
Thunderbird Contacts Converter offers an elegant solution: a simple tool to import Thunderbird address book to Outlook in a bulk. Here is a step-by-step guide:
Step 1: Export contacts from Thunderbird to VCF
Your Mozilla Thunderbird export to Outlook starts from saving all your contacts into a single VCF file.
- Run Mozilla Thunderbird email client.
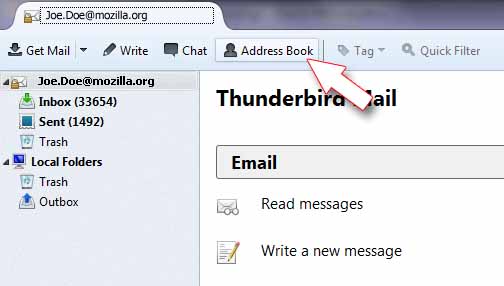
- On the toolbar, click the “Address Book” button to open the Thunderbird address book.
- In the left panel, select which address book you want to export from Thunderbird to Outlook, or select “All Address Books” if you want total conversion.
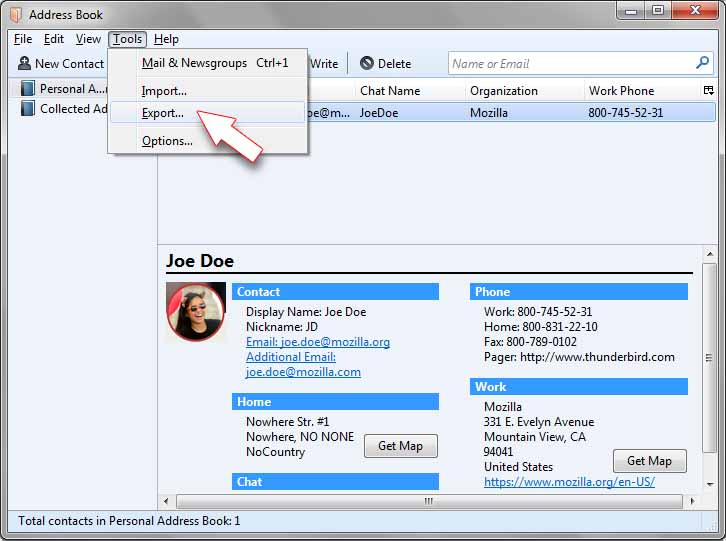
- Now, you need the “Export” menu. Click the Tools > Export menu. This will bring up the contacts exporting dialog.
- Select “vCard” as the exporting format.
- Type the filename and click “Save”.
You are almost done! The VCF file is now saved. However, even though Outlook allows importing from a vCard file, it is hard to recommend this, because Outlook simply cannot correctly import a VCF file with more than one contact in it.
Step 2: Import Thunderbird contacts to Outlook as PST
- Download our vCard to PST converter utility. This tool converts contacts exported from Thunderbird to Outlook PST.
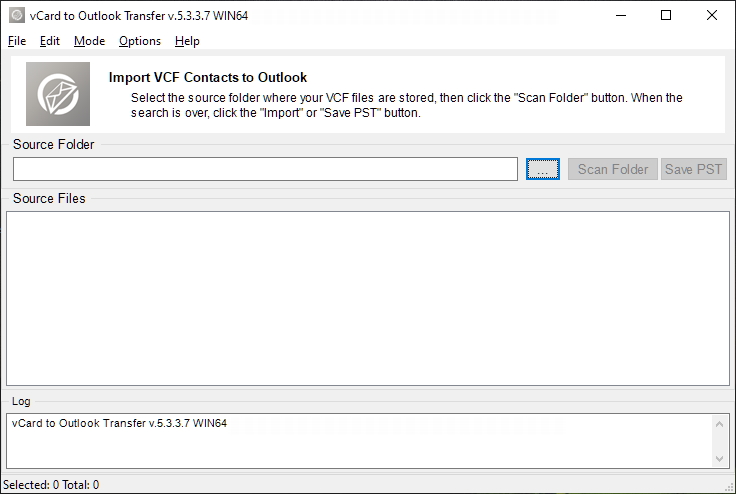
- Run the tool and specify the location of the vCard file(s) from steps 5-6 above.
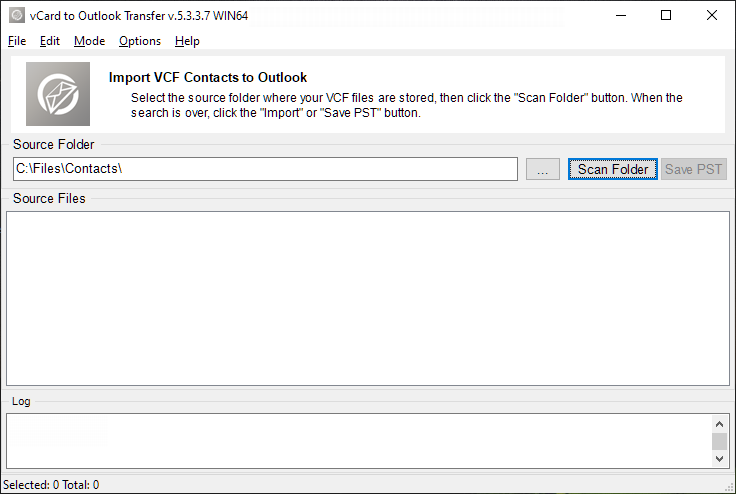
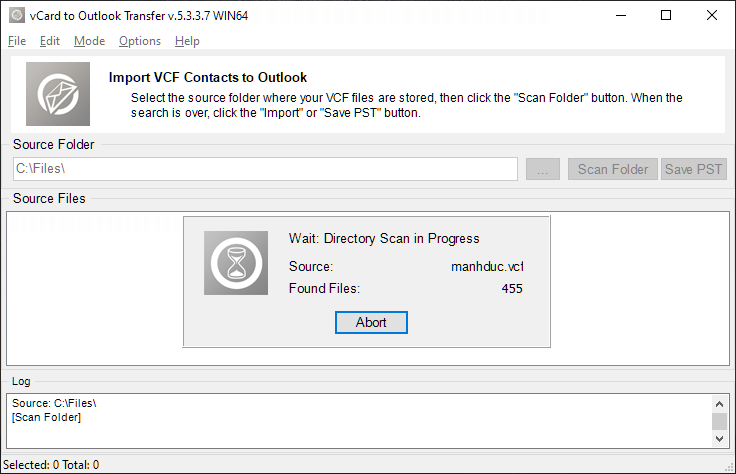
- Click the “Scan folders” button. The program will scan the specified folder and discover all VCF files to import to Outlook.
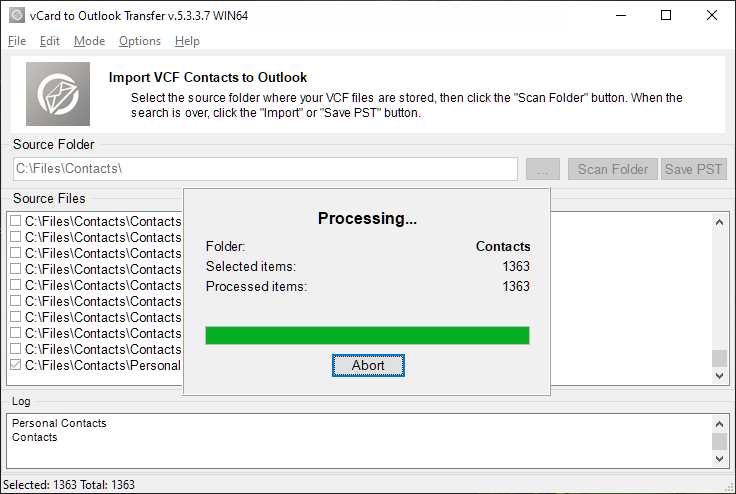
- Then, click the “Save PST” button to convert VCF to the PST format.
- Finally, open Outlook and load contacts from Thunderbird as PST using the File > Open Outlook Data File menu item.
Voila! You have successfully imported contacts from Thunderbird to Outlook. This works for 2010, 2013, 2016, 2019 versions, and older ones too. Note that vCard to Outlook contacts conversion software allows to convert contacts located in multiple individual vCard (*.VCF) files and contacts packed into single VCF file (multi-contact file).
Method 2: How to import contacts to Outlook from Thunderbird manually
This method requires more manual steps and hence is more time-consuming, but will work even on older versions of Thunderbird and Outlook email clients.
Step 1: Export Thunderbird contacts to CSV
The CSV (Comma Separated Values) format can be used to save your Thunderbird contacts.
- Launch Thunderbird.
- Click the “Address Book” button on the toolbar, or use the Tools > Address Book menu.
- Select address books you need to export to Outlook.
- Click the Tools > Export menu to run the exporting dialog.
- Select the CSV format in the exporting dialog and type the filename of the file to save.
- Click the “Save” button.
Step 2: Import contacts from Thunderbird to Outlook 2016, 2013, 2010 as CSV
After you exported contacts to CSV, you should import this CSV file to Outlook. Here is how you can do this:
- Run Microsoft Outlook.
- In the File menu, click the Open | Import item (Outlook 2003, 2007, 2010), or select the Export/Import item on the File ribbon (Outlook 2013, 2016).
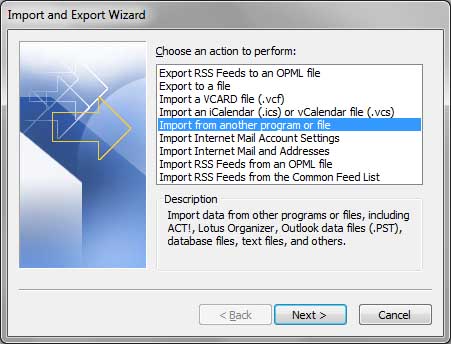
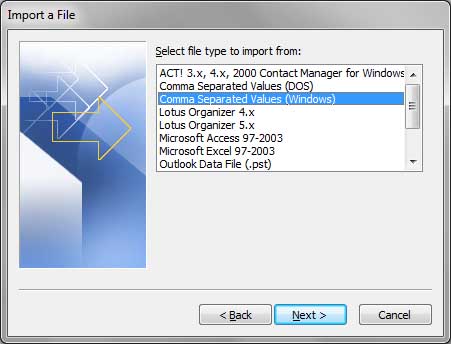
- The importing dialog will open. Select the “Import from another folder or file” importing option. Click Next.
- Select “Comma separated values (Windows)”. This is the CSV format. Note that you need the “Windows” version of the CSV file. Otherwise, import to Outlook will fail.
- Click Next.
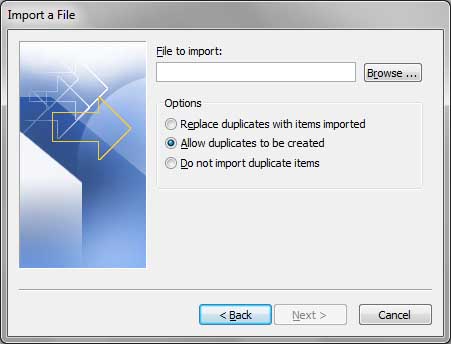
- Browse for a CSV file to import contacts from.
- Select the importing option. This is one of the following:
- Replace duplicates with items imported from CSV
- Allow duplicates to be created
- Do not import duplicatesThe rule of thumb is: if Outlook contacts may have some newer data than those you import from Thunderbird, you should allow duplicates to be created. Otherwise, the data from Thunderbird will overwrite existing contacts in Outlook.
- Click Next.
- Select the folder in the Outlook profile where you want to add the imported contacts from Thunderbird. Click Next.
Step 3: Map CSV fields from Thunderbird contacts to fields in Outlook
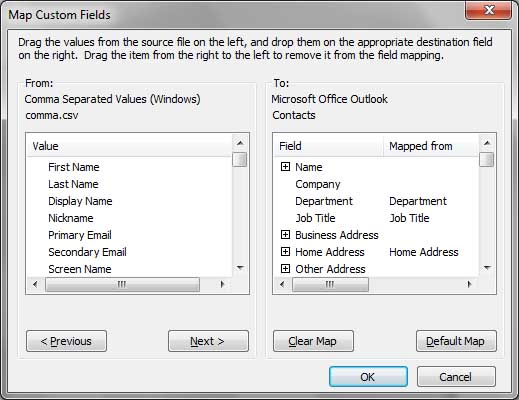
Okay, this is where you need some manual operations. You see, contacts in Thunderbird have the same information as in Outlook, but fields are named differently. For instance, the “Organization” field is mapped to “Company”, and “ZipCode” maps to “Postal Code”. In order to make Outlook read your imported contacts from Thunderbird correctly, you need to remap them.
So, after you have selected the folder in the pt.9 above, you need to map fields:
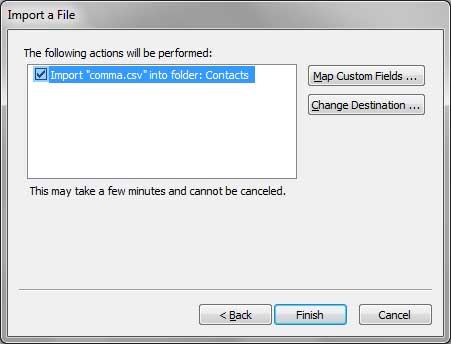
- Click the “Map Custom Fields” button in the importing dialog.
- The mapping window will open. Map fields to each other by dragging each field from the left (Thunderbird) to its corresponding counterpart on the right (Outlook). When you are done, click Finish.
- The importing process starts. Typically, it takes a while to transfer Thunderbird contacts to Outlook.
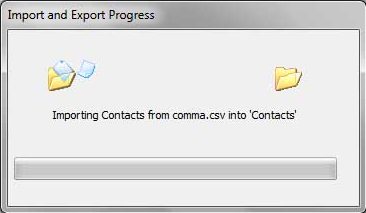
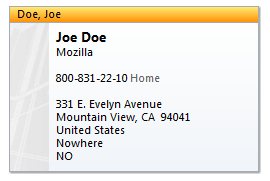
- Outlook Contacts will be created.
* – Some fields and vales such as “Photo” cannot be transfered from Thunderbird to Outlook.
Congratulations! You have exported contact information from Thunderbird and imported it to Outlook as a CSV file. Good job.
Note that if you don’t want to mess with manual remapping of CSV fields, consider using the auto-transfer option described above.
Conclusion
As you can see, with Thunderbird to Outlook Converter you can export Thunderbird contacts to Outlook 2013, 2016 in a blink.
Need to import messages from Thunderbird to Outlook?
Ok, this page tells how to import contacts to Outlook from Thunderbird. Two ways to do that, actually. But what if you need to import messages from Thunderbird to Outlook as well? Not a problem either. This page explains what you need to do to export Thunderbird emails to Outlook, regardless of versions, and on 32-bit and 64-bit systems.
Contact Fields Maping Example:
“Business Address” section can be mapped as follows:
- Organization > Company
- Work Address > Business Street
- Work Address 2 > Business Street 2
- Work City > Business City
- Work State > Business State
- Work ZipCode > Business Postal Code
- Work Country > Business Country
* -Other fields can be mapped the same way.


